Introduction ‘Unlock the Power of Creativity with Blocksy‘
If you’re starting your first website, choosing the right theme is crucial for creating a professional and functional design. Enter Blocksy—a lightweight, highly customizable, and beginner-friendly WordPress theme that simplifies website creation. Whether you’re building a blog, e-commerce site, or portfolio, Blocksy offers pre-designed templates and an intuitive interface to bring your vision to life.
In this quick guide, we’ll walk you through installing and setting up Blocksy step-by-step. By the end, you’ll have a sleek, functional website that’s easy to manage, even if you’re new to WordPress. Let’s get started!
Step 1: Log in to WordPress
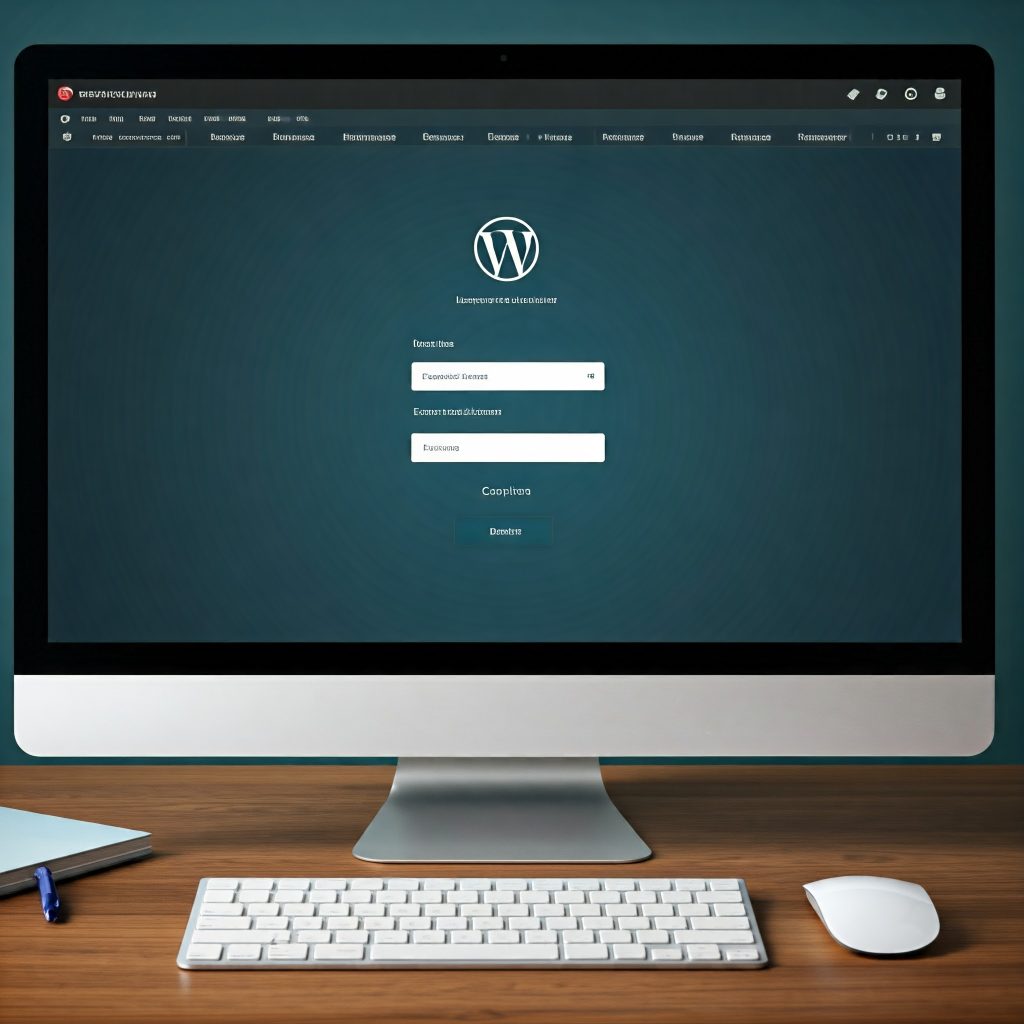
Logging into WordPress is the first and most crucial step to building and managing your website. For beginners, this process might seem intimidating at first, but it’s quite simple when broken down. Here’s an in-depth guide to help you confidently log in and access the WordPress dashboard.
What is WordPress Login?
The WordPress login is the gateway to your website’s backend, often called the admin panel. It’s where you control everything related to your website—installing themes, adding plugins, creating content, and customizing the overall design. Without access to this dashboard, you won’t be able to make any changes to your site.
Accessing the Login Page
- Open your preferred web browser (e.g., Chrome, Firefox, Safari, or Edge).
- In the address bar, type your website’s URL followed by /wp-admin. For example:
- If your site’s domain is www.example.com, type: www.example.com/wp-admin.
- Alternatively, try www.example.com/login if the first option doesn’t work.
- Press Enter to load the WordPress login screen.
If your site is hosted by a platform like Bluehost or SiteGround, you might also find a login shortcut in your hosting account’s control panel.
Understanding the Login Page
The WordPress login page typically has two input fields:
- Username or Email Address: Enter the username or email you used when setting up WordPress.
- If you’re unsure, check the welcome email sent by your hosting provider or website setup service.
- Password: Input the password you created during installation.
A Log In button is located below these fields, along with options like:
- Lost Your Password?: Click this if you’ve forgotten your password to initiate a reset process via email.
Creating Secure Login Credentials
For security, ensure your username and password are strong. Avoid common usernames like “admin” or “user,” as they’re easy targets for hackers. Instead, opt for something unique. Your password should be a mix of uppercase letters, lowercase letters, numbers, and symbols (e.g., My$ecureP@ss123).
Logging In
- Double-check your username/email and password for accuracy.
- Click the Log In button.
- If your credentials are correct, you’ll be redirected to the WordPress dashboard, which is the main control panel for your website.
Troubleshooting Login Issues
- Forgotten Password: Use the Lost Your Password? link and follow the email instructions to reset it.
- Wrong URL: Ensure you’re entering the correct URL (/wp-admin or /login).
- Locked Out: Some hosting providers have recovery options in their control panel to reset credentials or disable problematic plugins.
Tips for Beginners
- Bookmark the Login Page: Save the login URL in your browser bookmarks for quick access.
- Enable Two-Factor Authentication: Use plugins like WP 2FA for enhanced security.
- Secure Your Login URL: Consider changing the default /wp-admin URL using security plugins like WPS Hide Login to reduce unauthorized login attempts.
By successfully logging into WordPress, you’re now ready to take the next step—installing and customizing the Blocksy theme to create your stunning website.
Step 2: Install the Blocksy Theme
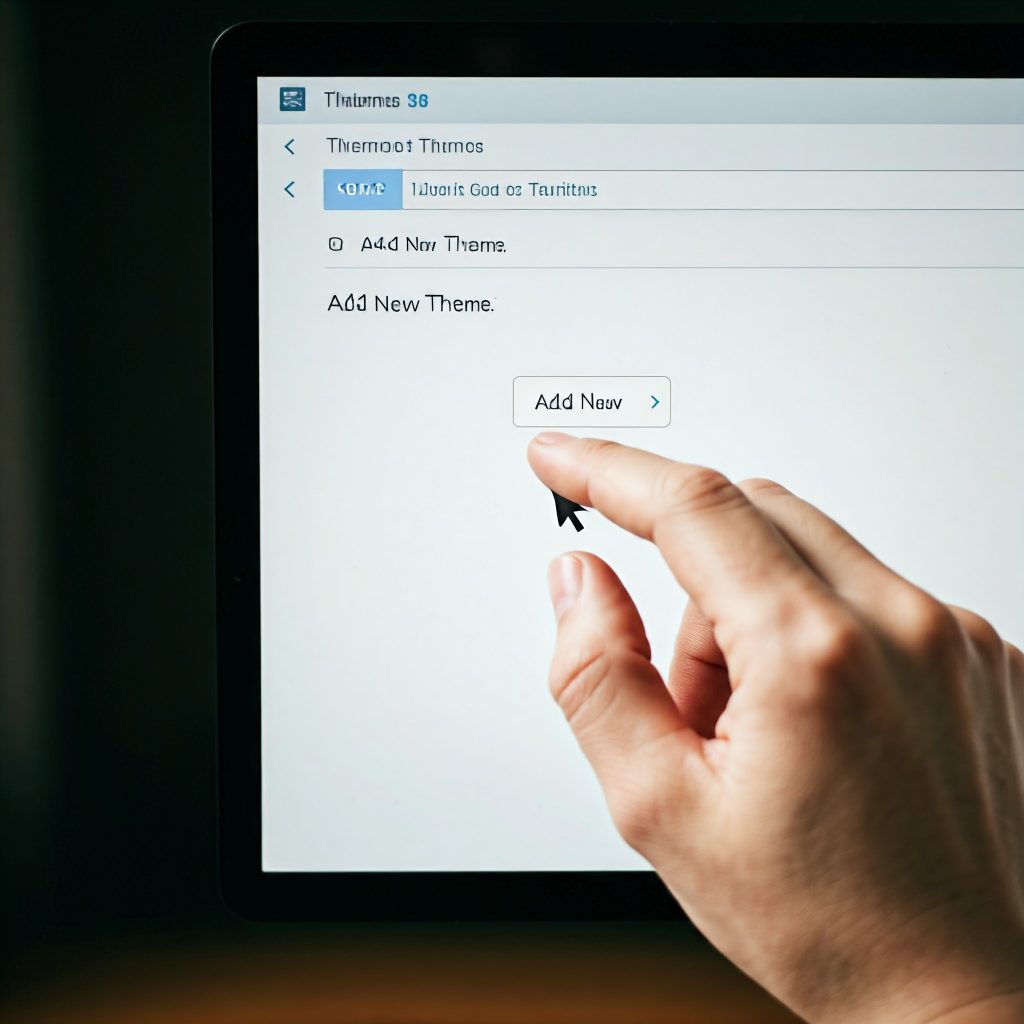
Once you’ve logged into your WordPress dashboard, the next step is to install the Blocksy theme. Blocksy is a powerful, lightweight, and beginner-friendly WordPress theme designed to make website building simple and efficient. This step will guide you through the installation process with detailed instructions, tips, and best practices.
What is a WordPress Theme?
A theme determines the appearance and layout of your website. Think of it as the “skin” that gives your site its unique look and feel. The Blocksy theme is highly versatile, offering customizable options and pre-designed starter templates, making it ideal for beginners.
Why Choose Blocksy?
- Lightweight and Fast: Optimized for speed, ensuring your site loads quickly.
- Responsive Design: Automatically adjusts to look great on desktops, tablets, and mobile devices.
- Highly Customizable: Provides extensive options for colors, typography, and layouts.
- Starter Templates: Offers ready-made designs for various website types (e.g., blogs, portfolios, e-commerce).
Steps to Install Blocksy
1. Access the WordPress Theme Directory
- In the WordPress dashboard, navigate to Appearance > Themes from the left-hand menu.
- You’ll see the current active theme and any pre-installed themes.
2. Add a New Theme
- Click on the Add New button at the top of the screen. This will take you to the WordPress Theme Directory, where thousands of free themes are available.
3. Search for Blocksy
- In the search bar on the right, type Blocksy.
- The Blocksy theme will appear in the results, featuring a clean and professional thumbnail.
4. Install the Theme
- Hover over the Blocksy thumbnail and click the Install button.
- WordPress will automatically download and install the theme from its directory.
5. Activate Blocksy
- Once the installation is complete, the Install button changes to Activate.
- Click Activate to make Blocksy your active theme. You’ll notice your site’s appearance immediately updates to Blocksy’s default look.
Troubleshooting Theme Installation
- Blocksy Not Appearing: Ensure your WordPress installation is updated to the latest version.
- Manual Upload: If you downloaded the Blocksy theme as a .zip file from the official Blocksy website, you can upload it manually:
- Go to Appearance > Themes > Add New.
- Click Upload Theme and select the .zip file.
- Click Install Now, then activate it.
Next Steps: Blocksy Companion Plugin
After activating the theme, a notification will prompt you to install the Blocksy Companion plugin. This plugin unlocks additional features like starter templates, advanced customization options, and integrations with popular tools. Installing this plugin is highly recommended for beginners.
Tips for Beginners
- Preview Before Activating: Click the Live Preview option before activation to see how the theme looks on your site.
- Back Up Your Site: If you’re replacing an existing theme, back up your site using a plugin like UpdraftPlus to avoid losing data.
- Experiment Freely: Blocksy’s settings are intuitive, so explore the customization options without fear—most changes can be undone.
By successfully installing Blocksy, you’ve taken a significant step toward building a professional and customizable website. The next step will guide you through enhancing your theme’s functionality using the Blocksy Companion plugin!
Step 3: Install the Blocksy Companion Plugin
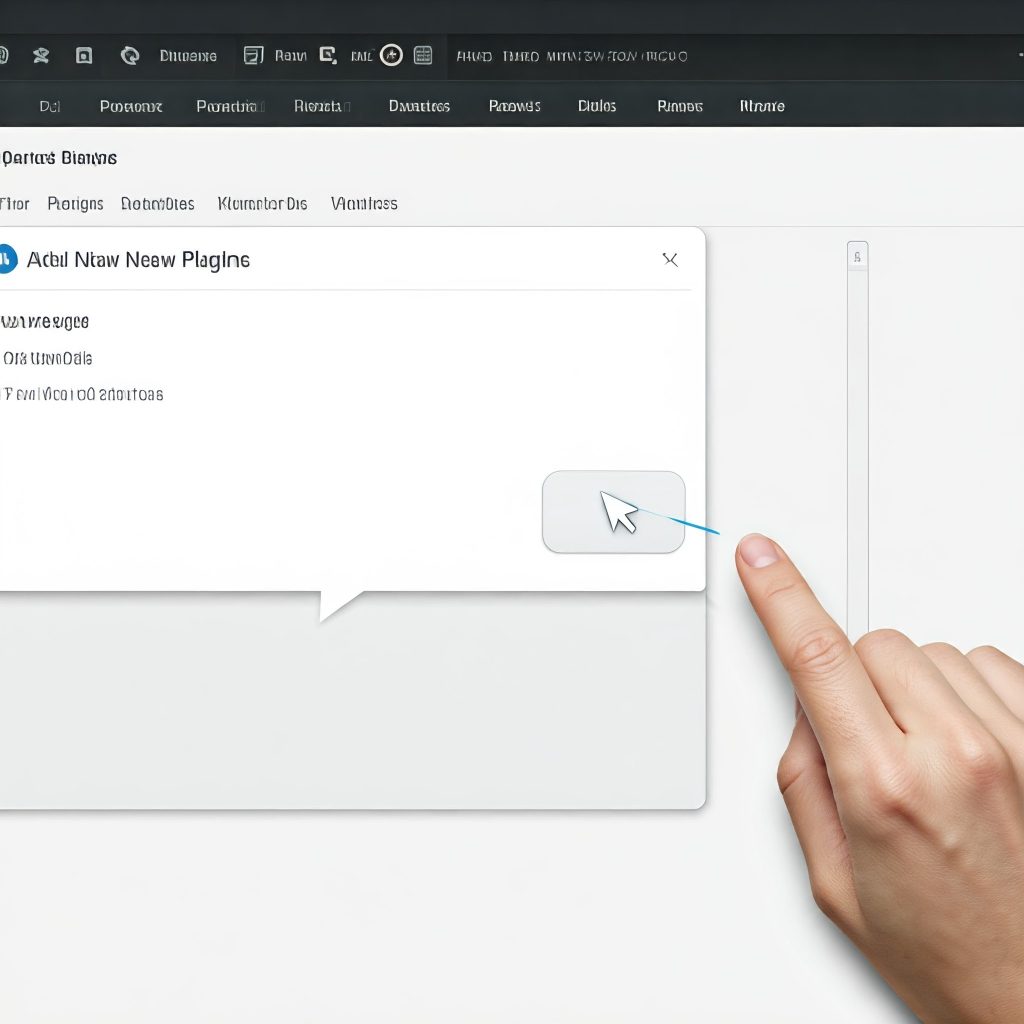
After activating the Blocksy theme, you’ll notice a prompt suggesting you install the Blocksy Companion plugin. This step is crucial because the plugin unlocks advanced features and provides access to starter templates, extra customization options, and integrations with popular tools. For beginners, this is the key to making your website both functional and visually appealing without needing coding skills. Here’s a step-by-step guide to help you install and set it up.
What is the Blocksy Companion Plugin?
The Blocksy Companion plugin enhances the capabilities of the Blocksy theme. While the theme alone offers basic features, the plugin adds powerful tools such as:
- Starter Sites: Pre-designed website templates for quick and easy setup.
- Advanced Widgets: Custom widgets for social media, contact forms, and more.
- Integrations: Seamless compatibility with tools like WooCommerce, Gutenberg, and Elementor.
- Custom Post Types: Options to create portfolios, testimonials, or other unique content types.
- Performance Optimization: Built-in tools to ensure your website remains fast and responsive.
Steps to Install Blocksy Companion
1. Check for the Installation Prompt
- After activating the Blocksy theme, a banner appears at the top of your WordPress dashboard, suggesting you install the Blocksy Companion plugin.
2. Begin Installation
- Click the Install Plugin button in the banner. This automatically downloads and installs the plugin from the WordPress Plugin Repository.
3. Activate the Plugin
- Once the installation is complete, click Activate.
- The plugin is now live on your site, and you’ll see new options in your WordPress dashboard, such as Blocksy Companion and Starter Sites.
4. Access Blocksy Features
- Navigate to Appearance > Blocksy Companion to explore the new features added by the plugin.
- Here, you’ll find options for importing starter sites, enabling additional widgets, and configuring integrations.
Using Blocksy Companion Features
1. Import Starter Templates
- Go to Appearance > Blocksy Starter Sites.
- Browse through the library of pre-designed templates, which cater to blogs, portfolios, e-commerce stores, and more.
- Choose a template and click Import Site. You can import demo content, widgets, and customizer settings for a fully functional site in minutes.
2. Enable Extensions
- Blocksy Companion includes optional extensions that you can enable as needed, such as:
- Cookies Consent: For compliance with GDPR.
- Mailchimp Integration: For email marketing.
- Custom Code Snippets: Easily add custom JavaScript or CSS to your site.
3. WooCommerce Support
- If you’re creating an online store, the plugin offers deep WooCommerce integration with advanced product layouts, cart customizations, and more.
Tips for Beginners
- Take It Slow
Don’t feel overwhelmed by the options—start with importing a starter template and gradually explore the other features. - Check Plugin Updates
Regularly update Blocksy Companion to access new features and security improvements. - Experiment in Safe Mode
Use a staging site or backup plugin to test changes before applying them to your live website.
Why Install Blocksy Companion?
For beginners, the Blocksy Companion plugin is a game-changer. It simplifies website creation, offering tools that eliminate the need for external plugins and advanced coding. By installing it, you ensure that your website is fully equipped to deliver a professional, functional, and visually stunning user experience.
Congratulations! You’ve now unlocked the full potential of the Blocksy theme. Up next, we’ll cover how to import a starter template and customize your site.
Step 4: Import a Starter Template
Now that you’ve installed and activated the Blocksy theme and its Companion plugin, it’s time to set up a starter template. For beginners, using a starter template is one of the fastest ways to create a professional-looking website without starting from scratch. Blocksy offers a range of pre-designed templates tailored for blogs, portfolios, e-commerce, and more. This guide will walk you through the process step-by-step.
What is a Starter Template?
A starter template is a pre-designed layout that includes pages, styles, and content placeholders. It’s like a website blueprint that you can customize to suit your needs. Templates save time and effort by giving you a ready-made structure, allowing you to focus on customization and content creation.
Why Use a Starter Template?
- Ease of Use: Perfect for beginners with no design experience.
- Time-Saving: Reduces the time spent creating pages from scratch.
- Customizable: All elements of a template can be modified to match your branding.
- Responsive: Templates are designed to look great on desktops, tablets, and mobile devices.
Steps to Import a Starter Template
1. Navigate to Blocksy Starter Sites
- In your WordPress dashboard, go to Appearance > Blocksy Starter Sites.
- This will take you to the library of available templates provided by Blocksy.
2. Browse the Template Library
- Explore the collection of templates categorized by purpose, such as blogs, business websites, e-commerce stores, and portfolios.
- Click on a template to preview its layout and features.
3. Select a Template
- Once you find a template that fits your website’s purpose, click Import Site.
- A pop-up will appear, asking which components you want to import, such as:
- Content: Demo pages, posts, and media.
- Widgets: Sidebar and footer widgets.
- Customizer Settings: Pre-configured color schemes, fonts, and layouts.
4. Customize Import Options
- Choose what you want to import. For most beginners, it’s recommended to select all options to replicate the demo site completely.
- Click Import to begin the process.
5. Wait for the Import to Complete
- The import process might take a few minutes, depending on the size of the template and your internet connection.
- Once done, you’ll see a confirmation message that your site has been successfully imported.
Customize the Imported Template
- Edit Content:
- Replace demo text and images with your own content using the WordPress block editor (Gutenberg) or a page builder like Elementor.
- Adjust Colors and Fonts:
- Go to Appearance > Customize and modify the colors, fonts, and layouts to match your branding.
- Configure Menus:
- Set up your navigation menus in Appearance > Menus to ensure users can easily access your site’s pages.
Tips for Beginners
- Start Simple: Choose a template that closely matches your vision to minimize changes.
- Preview Before Importing: Use the preview feature to ensure the template meets your needs.
- Backup Your Site: If you’ve made prior changes to your site, back it up before importing to avoid overwriting existing content.
By importing a Blocksy starter template, you’ve laid the foundation for your website. From here, you can focus on customization, ensuring your site is unique and perfectly tailored to your goals. In the next step, we’ll dive deeper into customizing your site’s design and layout.
Step 5: Customize the Design
With the Blocksy theme and a starter template installed, you’re now ready to make your website truly your own. Customizing the design involves tailoring elements like colors, fonts, headers, footers, and layouts to align with your branding and vision. This step is where your creativity shines, and Blocksy’s intuitive tools make it accessible even for beginners. Let’s dive into how to customize your website’s design step-by-step.
Why Customize Your Design?
Customizing your website ensures it reflects your unique identity, enhances user experience, and communicates professionalism. A well-designed site not only attracts visitors but also keeps them engaged.
Access the WordPress Customizer
- Log in to your WordPress dashboard.
- Navigate to Appearance > Customize.
- This opens the WordPress Customizer, where you can see a live preview of your website and make real-time edits.
Step-by-Step Customization
1. Site Identity
- Go to Site Identity in the Customizer.
- Add your Site Title and Tagline (optional). These appear in the browser tab and can also be displayed on your website.
- Upload your Logo if you have one. Use a high-quality image in PNG format with a transparent background for a professional look.
2. Colors and Background
- Navigate to Colors and adjust the primary color palette to match your branding.
- Set the Background Color for your site’s overall look.
- Use contrasting colors to ensure readability.
3. Typography
- Go to Typography to choose fonts for headings, body text, and buttons.
- Blocksy offers Google Fonts integration, giving you access to hundreds of free fonts.
- Maintain consistency by using a maximum of two or three font styles across your site.
4. Header Customization
- Go to Header to configure the top section of your site.
- Use Blocksy’s drag-and-drop header builder to arrange elements like the logo, menu, and social icons.
- Add call-to-action buttons (e.g., “Get Started” or “Contact Us”) if needed.
5. Footer Customization
- Navigate to Footer to customize the bottom section of your site.
- Add widgets for copyright notices, social media links, or a newsletter signup form.
- Blocksy’s footer builder allows you to rearrange elements and add content blocks.
6. Layout Settings
- Go to General > Layout to adjust the overall structure of your website.
- Choose between full-width, boxed, or grid layouts for pages and posts.
- Configure sidebar placement (left, right, or no sidebar).
7. Homepage Settings
- Under Homepage Settings, choose what your visitors see first:
- Static Page: Set a custom homepage and blog page.
- Your Latest Posts: Display recent blog posts on the homepage.
8. Advanced Customization
- Enable advanced features like sticky headers or parallax scrolling effects for a modern look.
- Experiment with transparency and shadow effects for design depth.
Preview and Publish
- As you make changes, use the live preview to see how your site will look on desktops, tablets, and mobile devices.
- Once satisfied, click the Publish button to save your changes.
Tips for Beginners
- Start Small: Focus on essential elements like colors and typography before diving into advanced features.
- Use Contrast: Ensure that text is easily readable against background colors.
- Stick to Your Brand: Consistency in design elements builds trust and professionalism.
[Beginner’s Guide to Building a Website with Blocksy Theme][Beginner’s Guide to Building a Website with Blocksy Theme][Beginner’s Guide to Building a Website with Blocksy Theme]Customizing your design with Blocksy’s tools is straightforward and flexible, even for beginners. With your website now reflecting your style and vision, you’re ready to add content, optimize functionality, and bring your site to life!
Step 6: Add Essential Plugins
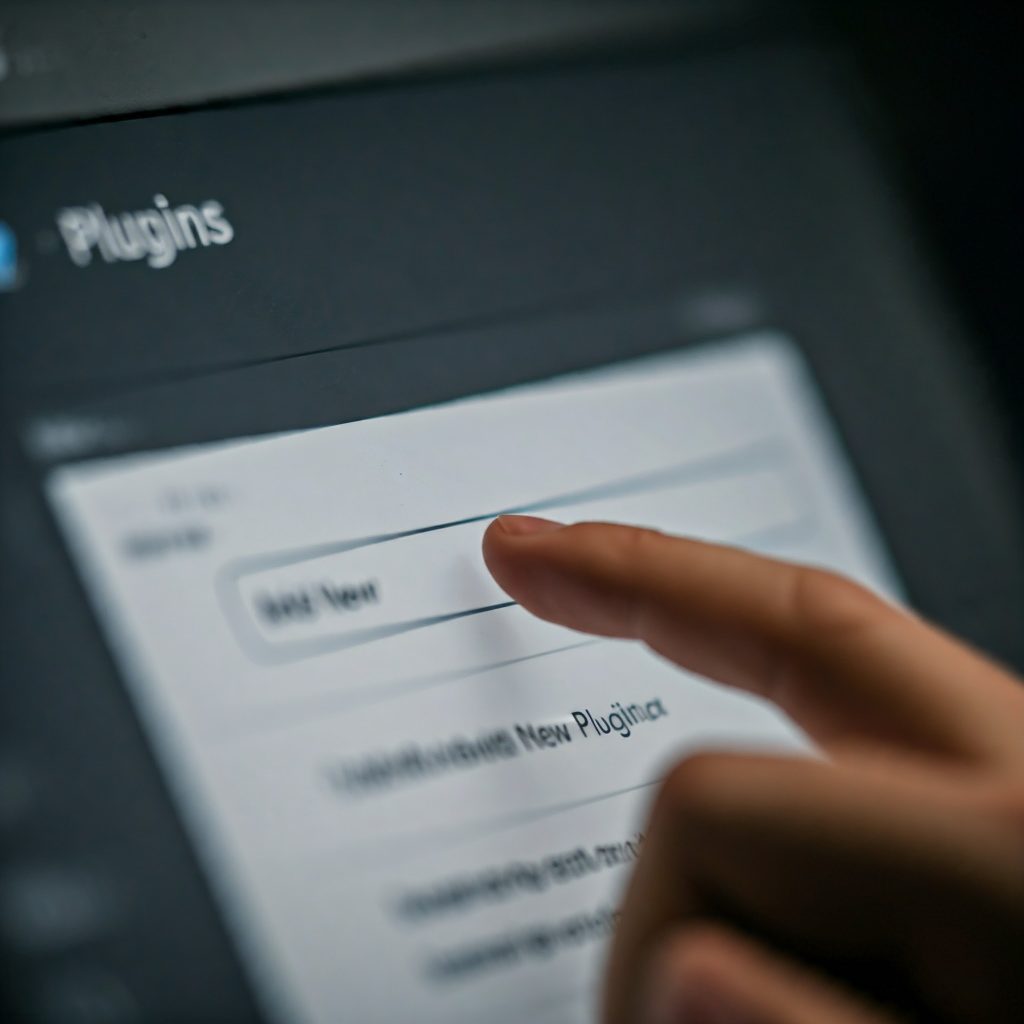
After customizing the design of your website, the next crucial step is to add plugins. Plugins are tools that extend the functionality of your WordPress site, allowing you to add features like contact forms, SEO optimization, performance enhancements, and more. For beginners, choosing the right plugins can make your website more efficient, secure, and user-friendly. This guide provides detailed instructions on how to install and configure essential plugins.
What Are Plugins?
A plugin is a piece of software that integrates seamlessly with WordPress to enhance its capabilities. Think of plugins as “apps” for your website. With over 55,000 plugins available in the WordPress repository, you can find solutions for nearly every website need.
Why Are Plugins Important?
- Extended Functionality: Add features like forms, galleries, or social sharing buttons without coding.
- Improved User Experience: Enhance navigation, security, and performance for your visitors.
- Time-Saving: Automate tasks like backups, updates, and spam filtering.
Steps to Add Essential Plugins
1. Access the Plugins Dashboard
- Log in to your WordPress admin dashboard.
- Navigate to Plugins > Add New in the left-hand menu.
- This opens the WordPress Plugin Repository, where you can search and install plugins directly.
2. Search for Plugins
- Use the search bar at the top right to find specific plugins by name or keyword. For example, type “SEO” to find SEO-related plugins.
3. Install a Plugin
- Once you find a plugin, click the Install Now button next to it.
- WordPress will automatically download and install the plugin on your site.
4. Activate the Plugin
- After installation, click the Activate button to enable the plugin’s features on your site.
5. Configure Plugin Settings
- Most plugins will add a new menu item or settings page in your dashboard.
- Follow the plugin’s setup guide or documentation to configure it according to your needs.
Recommended Plugins for Beginners
- SEO Optimization
- Yoast SEO: Helps improve search engine rankings by optimizing meta tags, keywords, and readability.
- Rank Math SEO: An alternative with advanced features and beginner-friendly interfaces.
- Security
- Wordfence Security: Protects your site from hacking attempts and malware.
- iThemes Security: Adds extra layers of protection like two-factor authentication.
- Performance
- WP Rocket (paid) or LiteSpeed Cache: Improves website speed and caching.
- Smush: Optimizes images to reduce loading times.
- Contact Forms
- WPForms: A drag-and-drop builder for creating contact forms, surveys, and more.
- Contact Form 7: A lightweight, simple option for adding forms.
- Backup and Recovery
- UpdraftPlus: Allows you to schedule backups and restore your site in case of issues.
- E-Commerce (if needed)
- WooCommerce: A complete solution for building an online store.
Tips for Beginners
- Avoid Overloading Plugins: Install only the plugins you need to prevent slowing down your site.
- Keep Plugins Updated: Regularly update plugins to ensure compatibility and security.
- Test New Plugins: Test plugins on a staging site before activating them on your live website.
Adding the right plugins equips your website with essential tools to perform well and meet user expectations. Once installed and configured, these plugins will enhance your site’s functionality and ensure it runs smoothly. The next step will focus on creating engaging content to populate your website!
Step 7: Create and Add Content
With your website design complete and essential plugins installed, it’s time to bring your site to life by creating and adding content. Content is the core of your website—it communicates your message, engages visitors, and drives traffic. This step will guide beginners through creating pages, posts, and other content types that make your site informative, attractive, and functional.
Why Is Content Important?
- Visitor Engagement: Well-written content keeps visitors on your site longer.
- Search Engine Visibility: Quality content optimized for SEO improves your rankings.
- Brand Representation: Content reflects your expertise, values, and purpose.
Steps to Create and Add Content
1. Understand WordPress Content Types
WordPress offers two primary content types:
- Pages: Static content, such as your homepage, about page, and contact page. These rarely change.
- Posts: Dynamic content, such as blog articles, news updates, or announcements. Posts are displayed chronologically.
2. Plan Your Content Structure
Before adding content, map out your website structure. Common pages include:
- Homepage: An overview of your site with a call to action.
- About Page: Information about your brand or business.
- Services/Products Page: Details of offerings with descriptions and visuals.
- Contact Page: A form or contact details for visitors to reach you.
- Blog: A section for regularly updated articles.
3. Create a New Page
- Navigate to Pages > Add New in your WordPress dashboard.
- Enter a title for the page, such as “About Us.”
- Use the WordPress Block Editor (Gutenberg) to add content blocks for text, images, headings, and more.
- Format content using the editor’s toolbar to adjust fonts, alignments, and colors.
- Click Publish to make the page live on your site.
4. Create a Blog Post
- Navigate to Posts > Add New.
- Enter a title for your post, such as “5 Tips for Better Productivity.”
- Write the content in the Block Editor, using blocks for text, images, or videos.
- Assign a Category and Tags to organize your posts.
- Click Publish to make your post live.
5. Add Media
- Use the Media Library (found under Media > Library) to upload images, videos, or documents.
- Optimize images for faster loading times using plugins like Smush.
- Add descriptive alt text to images for accessibility and SEO benefits.
6. Link Your Content
- Use internal links to guide visitors between related pages or posts.
- Add buttons or hyperlinks for navigation or calls to action.
Tips for Writing Effective Content
- Be Clear and Concise: Avoid jargon and keep your content easy to understand.
- Use Headings and Lists: Break up text into readable sections.
- Include Visuals: Use images, videos, or infographics to support your message.
- Optimize for SEO: Use keywords, meta descriptions, and proper formatting to rank better on search engines.
- Call to Action (CTA): End pages or posts with actionable instructions like “Sign Up Now” or “Contact Us Today.”
Preview and Update
- Preview Before Publishing: Use the Preview button to ensure the content looks good on all devices.
- Update Regularly: Refresh your content periodically to keep it relevant and up-to-date.
Final Thoughts
[Beginner’s Guide to Building a Website with Blocksy Theme][Beginner’s Guide to Building a Website with Blocksy Theme][Beginner’s Guide to Building a Website with Blocksy Theme]Adding content is the step where your website starts to serve its purpose. Whether you’re sharing information, selling products, or blogging, ensure your content is valuable and engaging. By the end of this step, your site will have a solid foundation of pages and posts that connect with your audience and drive traffic. Next, we’ll focus on optimizing your website for performance and user experience!
Step 8: Optimize Your Website for SEO
Search Engine Optimization (SEO) is essential for getting your website noticed by search engines like Google and Bing. Without proper SEO, your website may remain invisible to potential visitors, even if you have fantastic content. SEO helps search engines understand your content, making it more likely to appear in relevant search results. In this step, we’ll walk you through the basics of optimizing your WordPress site for SEO to improve visibility, drive organic traffic, and increase engagement.
Why is SEO Important?
- Increase Organic Traffic: SEO helps your site rank higher in search engine results, attracting more visitors without paid ads.
- Improved User Experience: SEO practices, like fast loading times and mobile optimization, improve the overall experience for users.
- Build Credibility and Trust: Higher rankings build trust with users, who are more likely to click on top search results.
Step-by-Step Guide to SEO Optimization for Beginners
7 Essential SEO Tips for Optimizing Your WordPress Website
- Install an SEO Plugin:
Start with an SEO plugin like Yoast SEO or Rank Math SEO. These tools help manage meta tags, XML sitemaps, and keyword analysis. Install and activate the plugin via the Plugins menu in WordPress, then configure settings under the new SEO menu. - Optimize Titles and Meta Descriptions:
Craft titles and meta descriptions using relevant keywords. Go to SEO > Search Appearance to customize formats for pages and posts. Keep descriptions under 160 characters and compelling to boost click-through rates. - Use Proper Keywords:
Conduct keyword research using tools like Google Keyword Planner or Ahrefs. Place target keywords in the title, meta description, headers, body content, and image alt text naturally to avoid keyword stuffing. - Optimize Images:
Compress images with tools like Smush to reduce file size without losing quality. Add keyword-rich alt text to help search engines understand your images. - Improve Site Speed:
Use caching plugins like WP Rocket and optimize your database with WP-Optimize. A fast hosting provider also improves loading times. - Ensure Mobile Optimization:
Test your site’s responsiveness on various devices. With Google’s mobile-first indexing, ensure your site is user-friendly on mobile. - Internal Linking and Content Structure:
Link related pages and posts using descriptive anchor text. This helps search engines understand your site hierarchy and keeps users engaged longer.
Final Thoughts on SEO
[Beginner’s Guide to Building a Website with Blocksy Theme][Beginner’s Guide to Building a Website with Blocksy Theme][Beginner’s Guide to Building a Website with Blocksy Theme]SEO can seem overwhelming, but by taking it step-by-step, you can significantly improve your website’s search engine rankings. Focus on key aspects like keyword optimization, improving site speed, and creating high-quality content. Keep refining your SEO strategy, and over time, you’ll see more organic traffic flowing to your site.
By following these SEO best practices, you’re ensuring that your website is optimized for search engines, which will help it reach a wider audience, gain more visibility, and achieve your goals. In the next step, we’ll focus on monitoring your website’s performance and making adjustments as needed.
Step 9: Monitor Your Website’s Performance

After launching your website and implementing SEO strategies, the next crucial step is to regularly monitor your website’s performance. Monitoring your site ensures that everything is functioning as expected, identifies areas for improvement, and helps you track your progress toward achieving your goals. Whether you’re tracking user behavior, analyzing website speed, or reviewing SEO performance, this step is key to maintaining a successful website. Here’s a beginner’s guide to monitoring your website’s performance effectively.
Why Monitoring Your Website is Important
- Identify Issues Early: Regular performance checks help you spot potential issues like slow loading speeds, broken links, or security vulnerabilities.
- Track User Behavior: By analyzing how visitors interact with your site, you can optimize the user experience (UX).
- Measure SEO Success: Tracking keyword rankings, traffic sources, and other metrics allows you to see how well your SEO efforts are paying off.
- Ensure Site Security: Monitoring ensures that your site remains secure and protected from threats like malware or hacking attempts.
Essential Tools for Monitoring Website Performance
4 Essential Tools to Track and Analyze Website Performance
- Google Analytics:
This free tool tracks user behavior, traffic, and key metrics. To set it up, create an account, add your website details, and install the tracking code using a plugin like Site Kit by Google. Key metrics to monitor include Sessions (site visits), Bounce Rate, Average Session Duration, and Traffic Sources (where visitors come from, like search engines or social media). - Google Search Console:
Monitor your website’s SEO performance and visibility with this free tool. Add and verify your site to access reports on Search Impressions (how often your site appears in searches), Click-Through Rate (CTR), Average Position for keywords, and Crawl Errors that hinder visibility. - Google PageSpeed Insights:
Improve your site speed and user experience. Enter your URL to get performance scores and recommendations for optimization. Track metrics like First Contentful Paint (FCP), Largest Contentful Paint (LCP), and Cumulative Layout Shift (CLS) to ensure fast, stable loading. - Uptime Monitoring Tools:
Use tools like UptimeRobot to track your website’s availability. Add your URL to receive alerts if your site goes offline. This ensures minimal downtime and a consistent user experience.
Additional Tips for Monitoring Website Performance
- Monitor Website Security:
- Use plugins like Wordfence Security or Sucuri Security to monitor for malware or hacking attempts. Regularly check your website for vulnerabilities and apply updates.
- Review User Feedback:
- Use tools like Hotjar or Crazy Egg to see how users interact with your website. Heatmaps can reveal where users click and scroll, helping you optimize your content layout.
- Check Mobile Compatibility:
- Regularly check your site on mobile devices to ensure it’s responsive. Google uses mobile-first indexing, so a mobile-friendly website is vital for good SEO.
Final Thoughts
[Beginner’s Guide to Building a Website with Blocksy Theme][Beginner’s Guide to Building a Website with Blocksy Theme][Beginner’s Guide to Building a Website with Blocksy Theme]Monitoring your website’s performance is an ongoing process that helps you stay on top of changes, ensure a positive user experience, and make data-driven decisions. Using the tools outlined in this step, you can track key metrics such as traffic, speed, and security, and make the necessary adjustments to enhance your website’s performance. By continually optimizing your website based on performance data, you’ll create a better experience for your users and see improved results over time.
Step 10: Maintain and Update Your Website

Congratulations! Your website is now live, optimized for SEO, and tracking performance. But the work doesn’t stop here. To keep your site running smoothly, attracting visitors, and performing well in search rankings, regular maintenance and updates are essential. This step covers the basics of maintaining and updating your WordPress website to ensure it remains secure, fast, and relevant.
Why is Website Maintenance Important?
- Security: Regular updates to plugins, themes, and WordPress itself help protect your site from vulnerabilities and security threats.
- Performance: Keeping your site optimized ensures fast loading times, which are important for user experience and SEO.
- Content Relevance: Updating your content keeps your website fresh and engaging, improving user retention and search rankings.
- Bug Fixes: Fixing broken links, removing outdated content, and troubleshooting any issues ensures your website is functional.
Key Areas for Regular Maintenance
6 Essential Maintenance Tips for Your WordPress Website
Test Forms and Features: Test contact forms, payment systems, and email opt-ins using tools like WPForms to ensure they work correctly and capture data effectively.
Update WordPress Core, Themes, and Plugins: Keep WordPress, themes, and plugins updated to improve functionality, fix bugs, and enhance security. Check the Dashboard for updates and back up your site before making changes. Enable automatic updates for minor releases.
Backup Your Website Regularly: Use plugins like UpdraftPlus or BackupBuddy to schedule automatic backups. Store backups on Google Drive or Dropbox and run manual backups before significant updates. Include both full site and database-only backups for comprehensive protection.
Monitor Website Speed: Regularly check site speed with Google PageSpeed Insights or GTmetrix. Optimize images using Smush, enable caching with WP Rocket, and clean up your database using WP-Optimize to maintain fast loading times.
Check for Broken Links and 404 Errors: Use tools like Broken Link Checker to find and fix broken links. Set up 301 redirects for moved pages and manage them with the Redirection plugin to maintain SEO.
Keep Content Updated: Regularly update blog posts, revise outdated content, and optimize older pages for new keywords. Add fresh internal links to improve SEO and engagement.
Final Tips for Ongoing Maintenance
- Security Checks: Run regular security scans with plugins like Wordfence or Sucuri to protect your website from potential threats.
- Engage with Users: Respond to user comments, questions, and feedback regularly to maintain engagement and encourage repeat visits.
- SEO Audits: Conduct regular SEO audits using tools like Yoast SEO or SEMrush to check if your optimization strategies are still effective and adjust as needed.
Final Thoughts
[Beginner’s Guide to Building a Website with Blocksy Theme][Beginner’s Guide to Building a Website with Blocksy Theme][Beginner’s Guide to Building a Website with Blocksy Theme]Website maintenance is an ongoing process that helps ensure your site remains secure, fast, functional, and up-to-date. Regular updates, backups, speed optimization, content refreshes, and user engagement are key components of a well-maintained website. By committing to ongoing maintenance, you’ll keep your WordPress site performing at its best, improving the user experience and achieving your business goals.
NEXT STEP : The Ultimate Beginner’s Guide to Building a Stunning Website with the Kadence Theme

